How to use Print Label in QQBoxx Pro 3 (LightScribe)?
Images can be printed directly and automatically on multiple LightScribe discs, no ink required.
Print Label (LightScribe) Operation
-
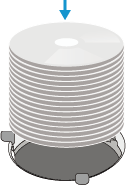
Place LightScribe medias into the loader with label side down. [1]
-
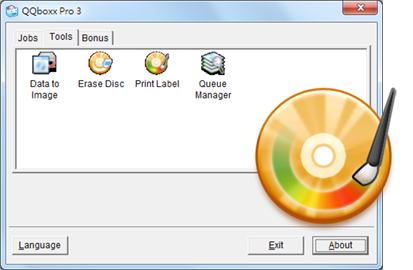
Double click on the Print Label under Tools tab, then select an available auto loader.
-
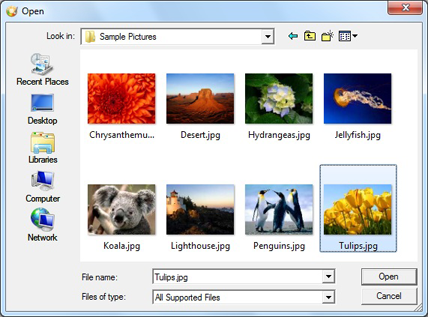
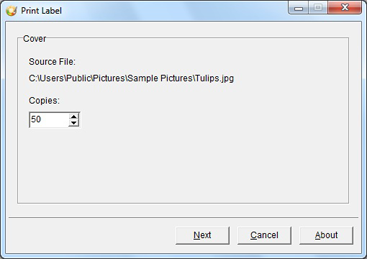
Select a desired image file (.JPG or .BMP) as the disc cover, then press Open.
-
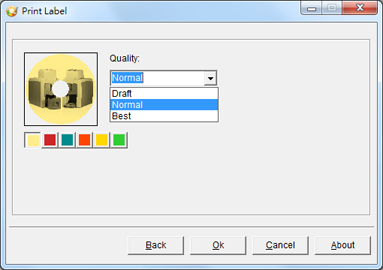
Set print quality. (LightScribe medias come with different colors, each color can be selected for preview purpose.) Then set desired quantity of copies.
-
Set desired quantity of copies.
-
To add an additional print job with a different image, click Another Cover.
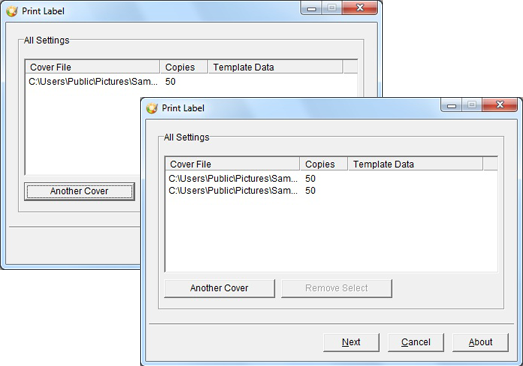
-
Click Process to process all print jobs.

Notice
- For Xymba USB DiscFlip serises, place discs into the loader with label side up, discs will be flipped automatically.